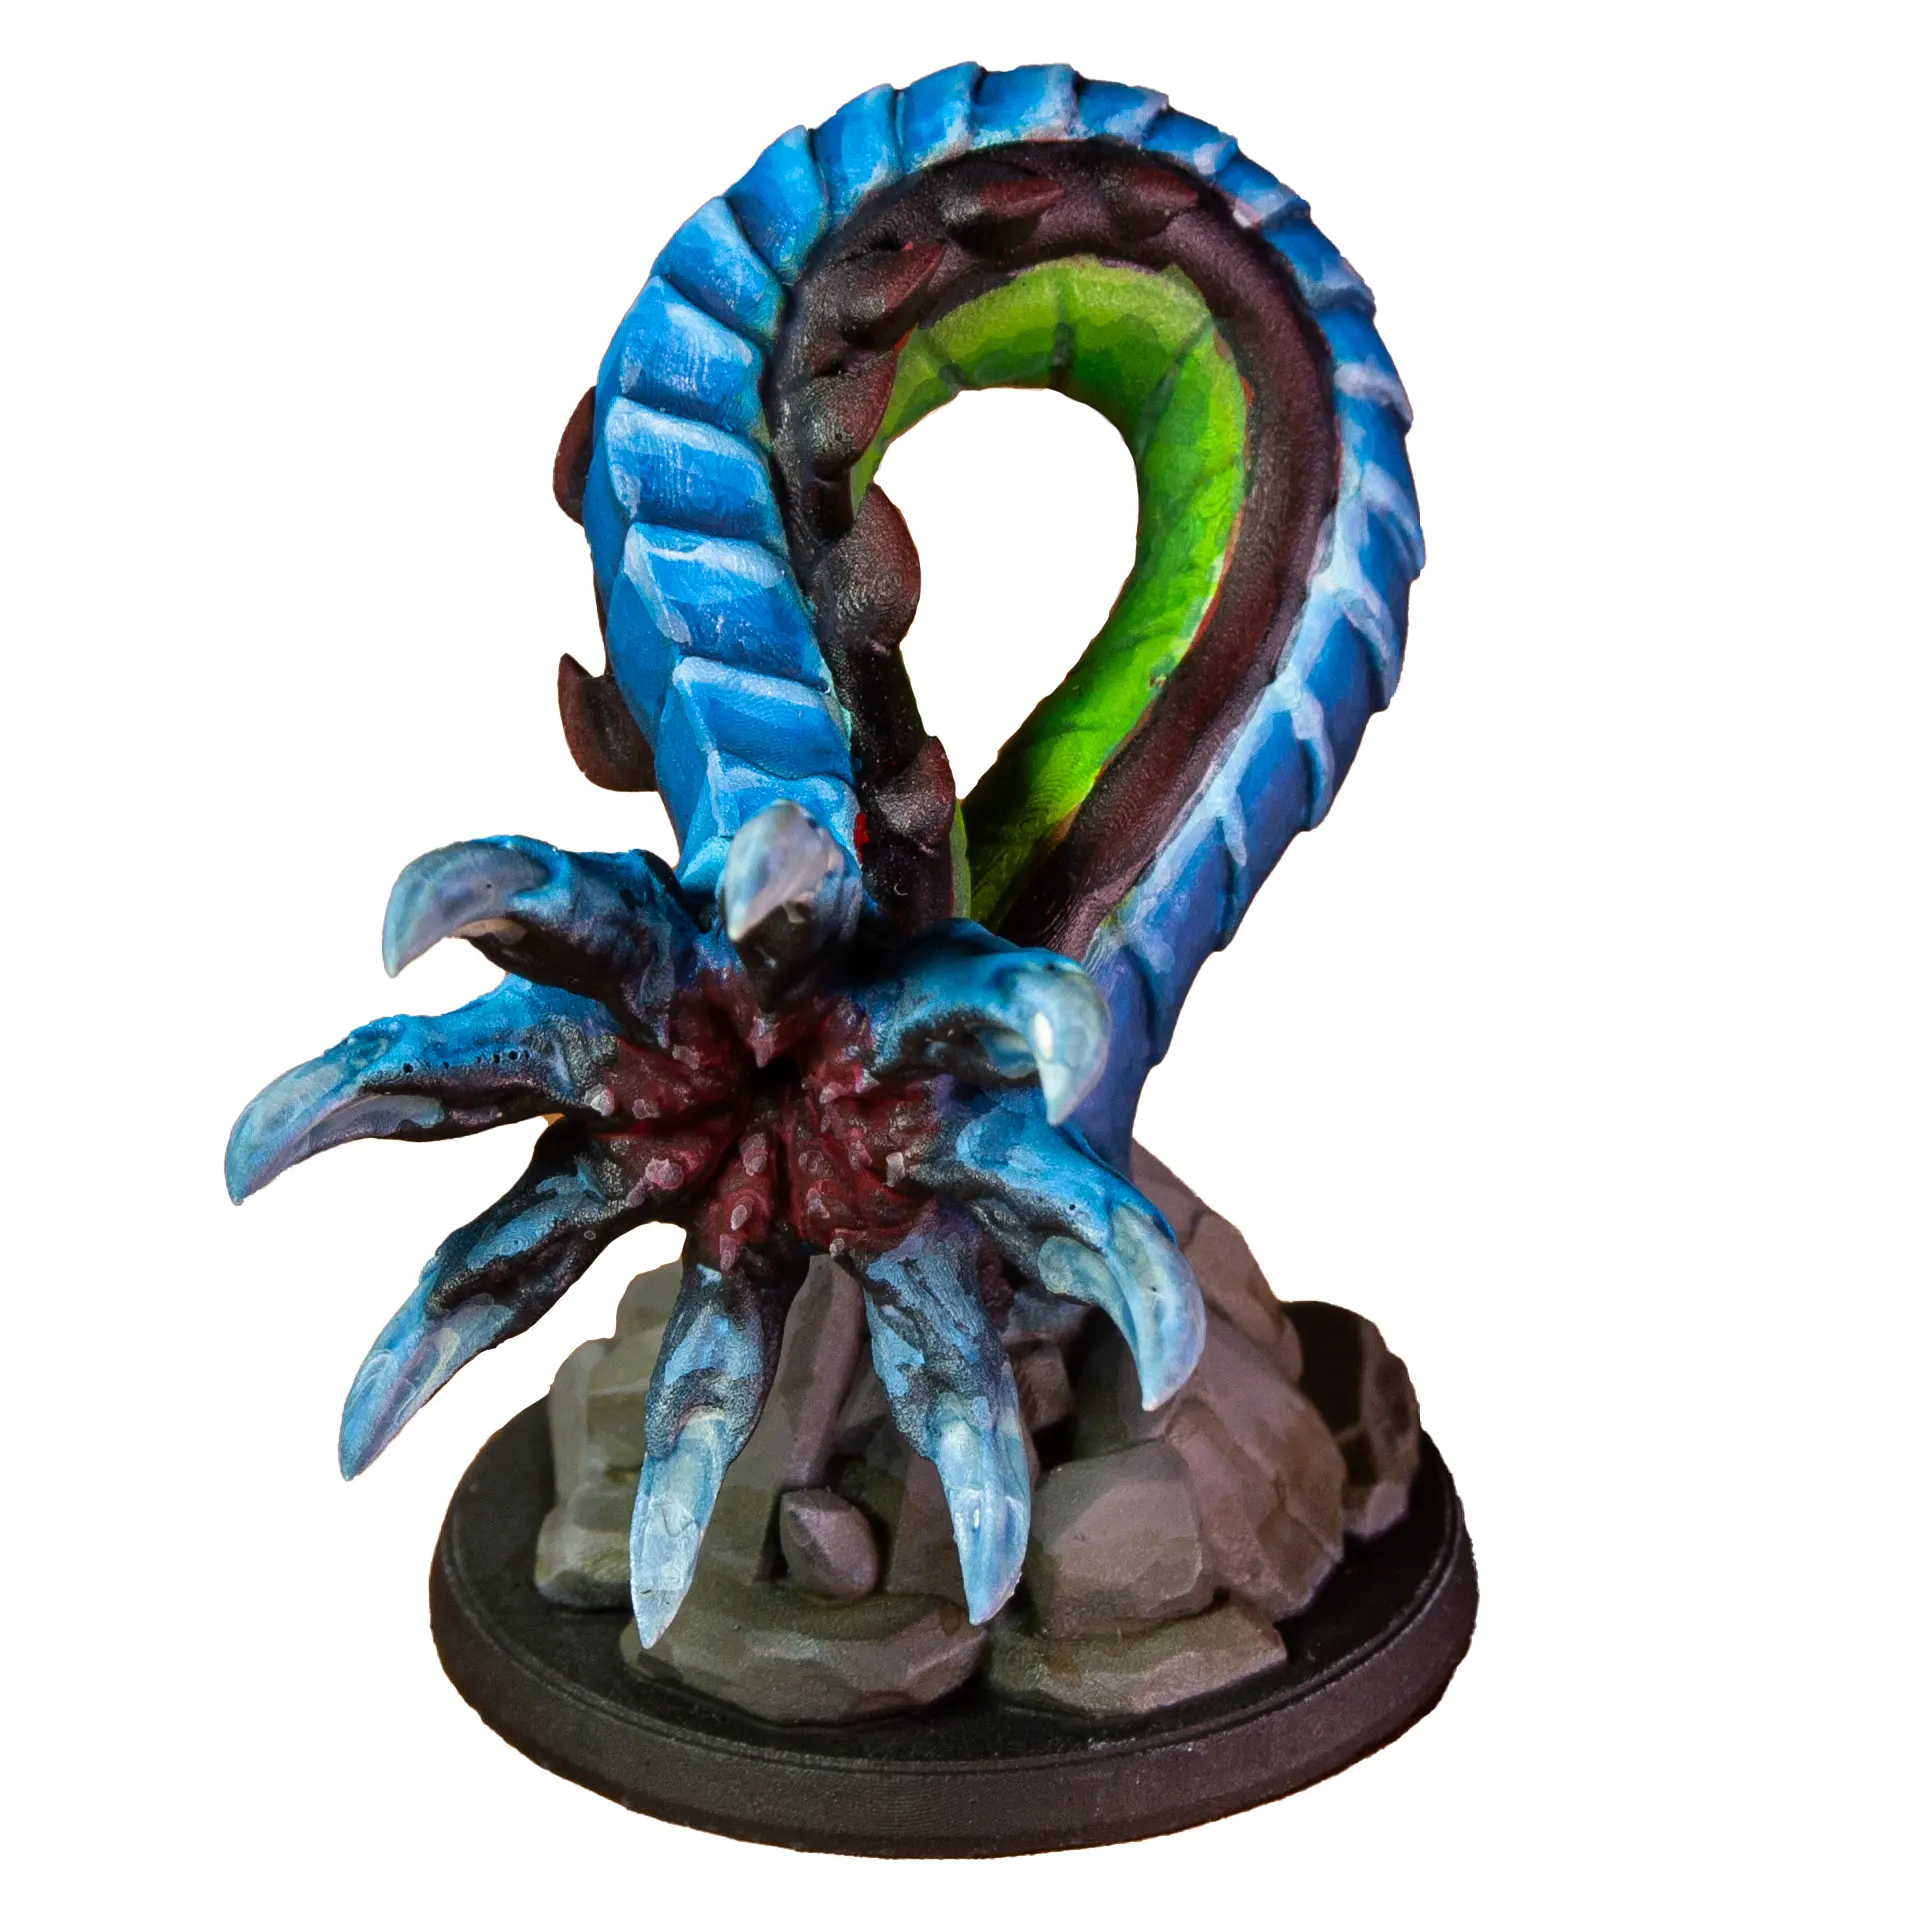
Wonderful worm
I tried to start something and got distracted. That’s sort of my thing, way more often than I’d like. Despite good intentions of starting a game of Frostgrave with my wife a year ago, I got sidetracked many, many times. After painting dozens of models to try and get every possible model ready before we played a single game, I got burned out on tiny fantasy models. I painted a lot of different models while I put Frostgrave to the side. An entire set of Root miniatures for a friend, a Dwarf Guild army from One Page rules and several one of models just for fun.
Now I’m back, and I need monsters, lots of monsters. I have some zombies and skeletons, but I need so much more. Bears, wolves, various demons and constructs and of course more skeletons and zombies! I also need ghouls, rats and various other beasts both large and small. Including, the ice worm! This ice worm, the one I’m painting in this blog post!
Love at first sight
When I saw this sculpt by Reddit user /u/Many_Many it seemed like exactly what I wanted. The sculpt reads as a large, menacing worm at a glance but it doesn’t immediately lock you into any specific settings. It’s scary, but it could be a sand worm, a water worm, or in my case: an ice worm. The sculpt is beautiful and I knew I wanted to paint it even if I never used it. Happily the sculpt was free and I tucked it away planning to use it for Frostgrave at…some point.
I didn’t really have any particular idea beyond how much I liked the sculpt and the idea that I wanted an ice worm that wasn’t just white and blue. I’ve seen some really cool ice themed minis, and my favorites weren’t painted in typical ice and snow colors. I tried to find some good visual references but I didn’t love what I found. All blue and white, and any fantasy images I found were very distinct and I didn’t want to end up copying someones wonderful work.
In the end I picked a handful of paints I thought would work together to give “ice” vibes, primed it up and started painting.
primer
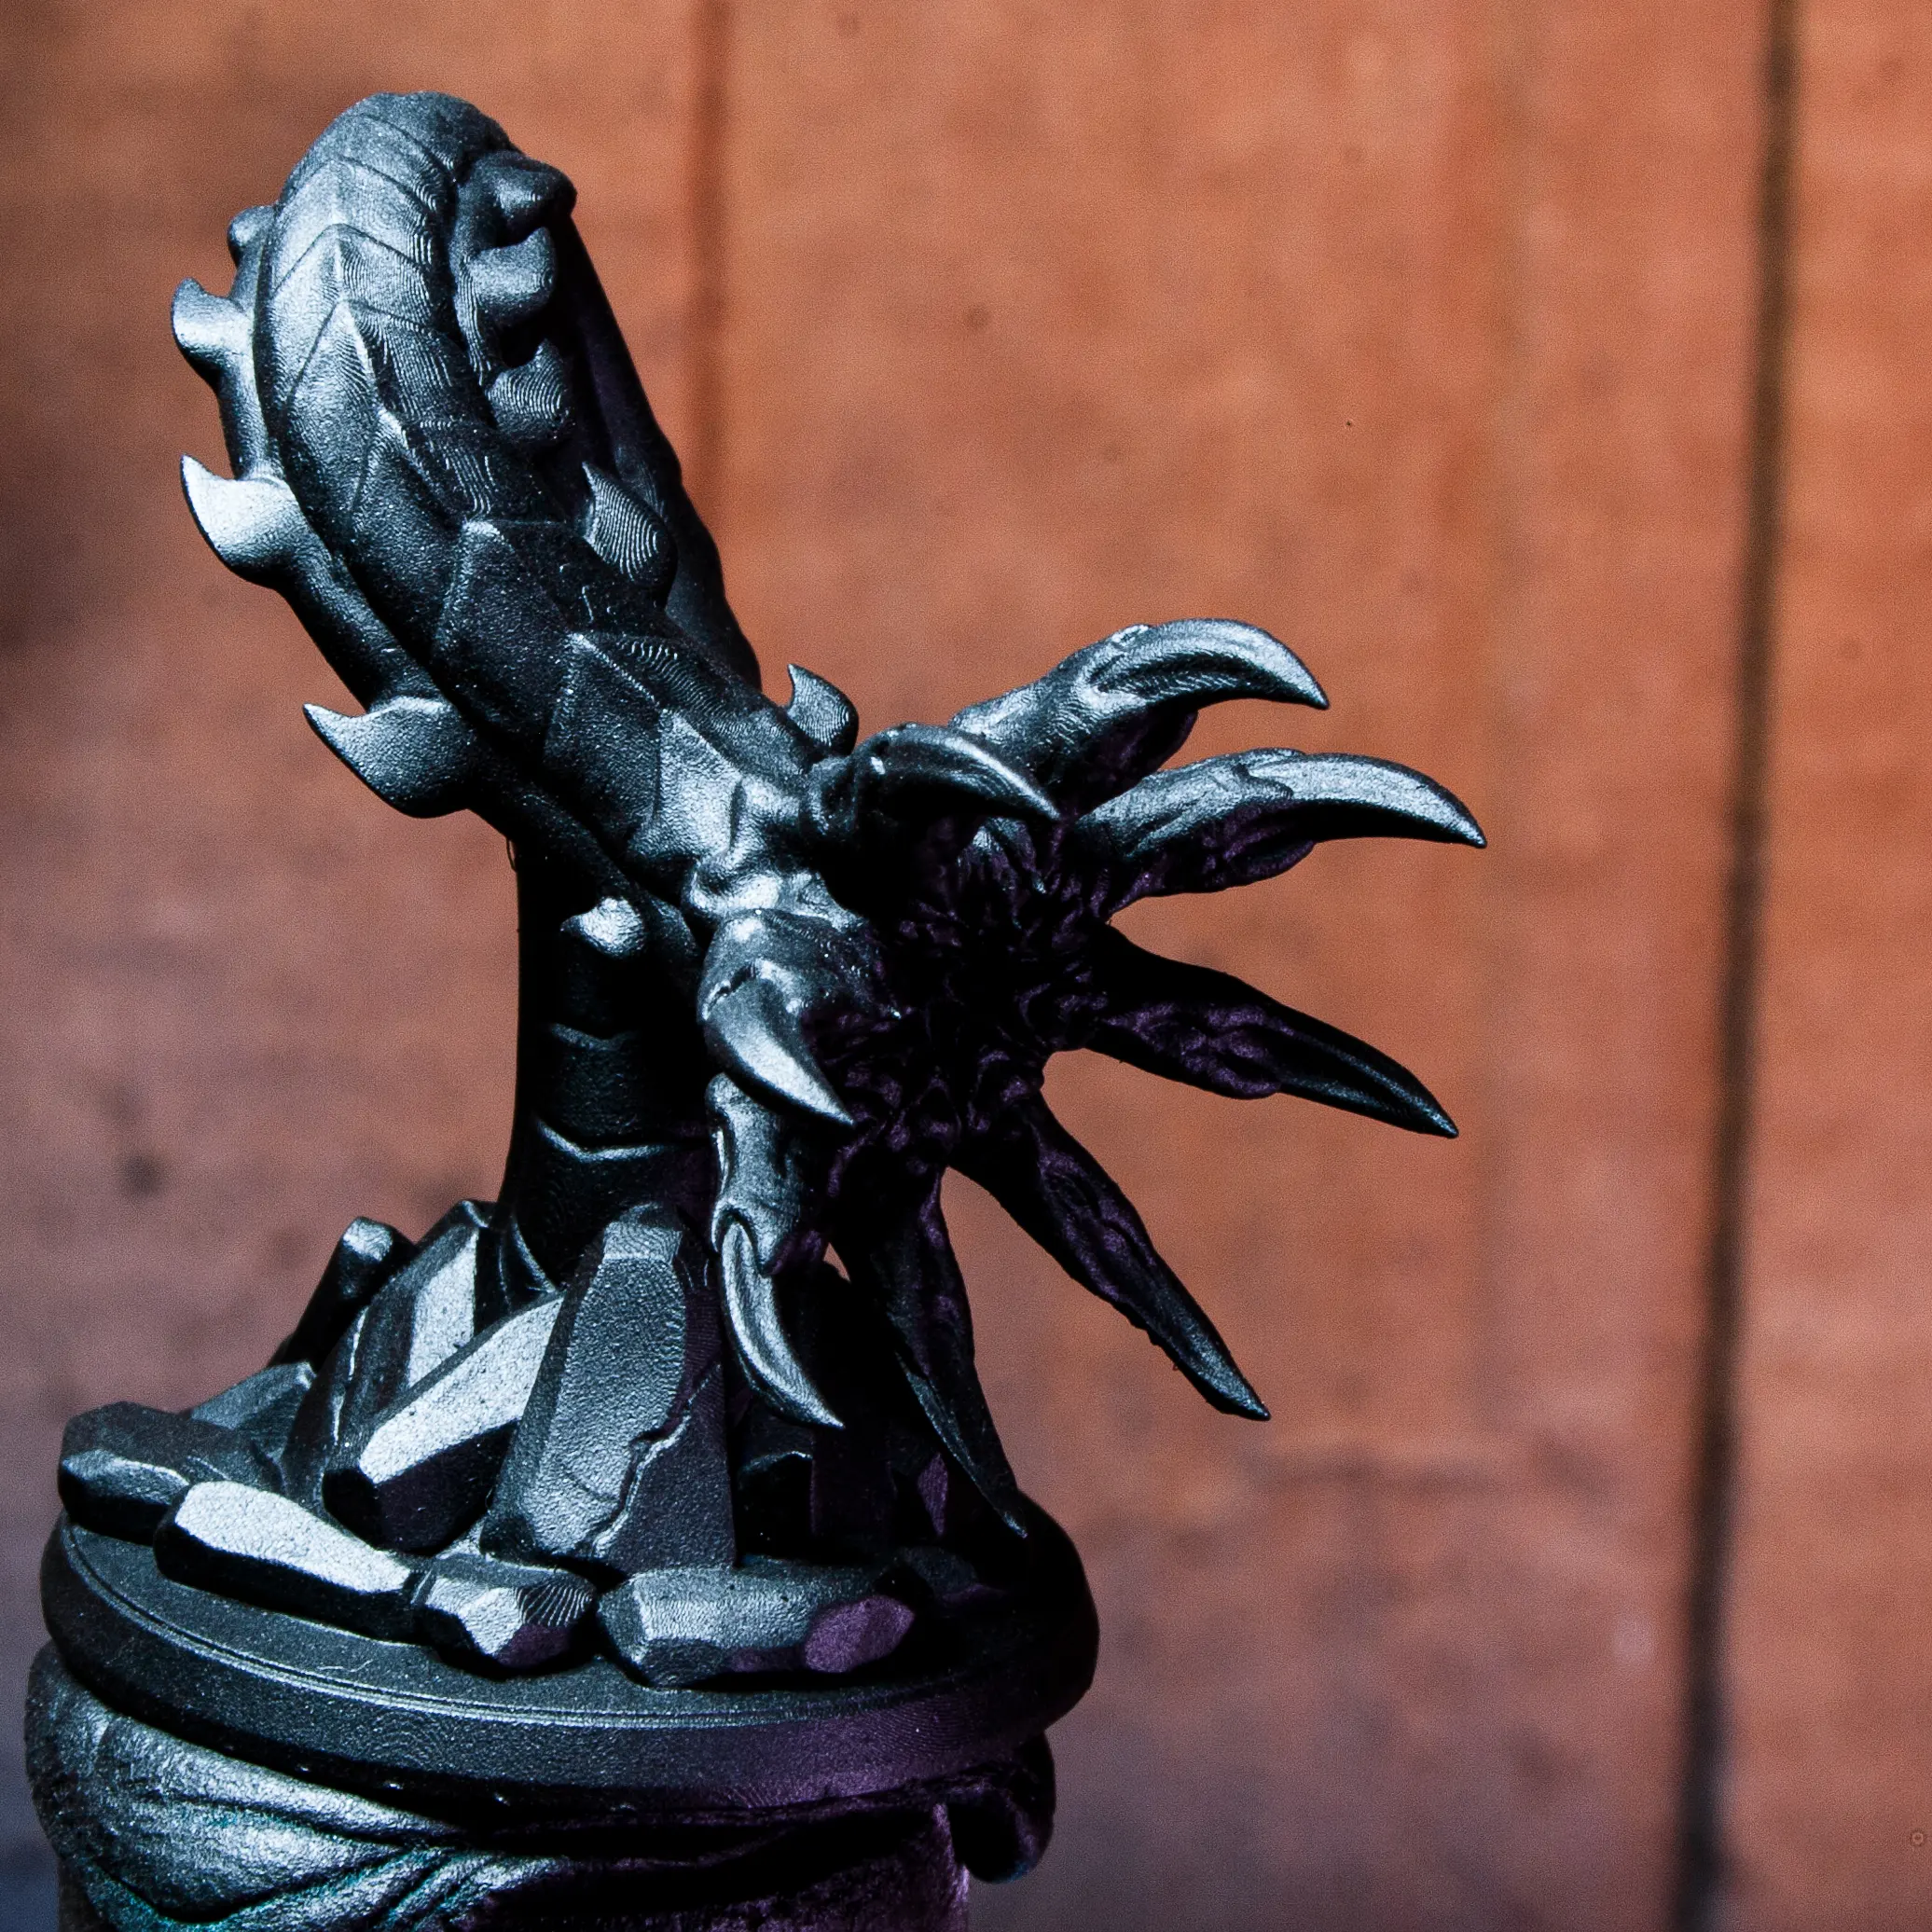
Nothing special here, I use Badger Stylrenz airbrush primer. In this case I had primed the mini a while ago and had given it a standard black primer with white zenithal. If I’d thought about it more at the time, I would rather have painted it up from black but I wasn’t going to dull the details with another coat of primer.
base coat
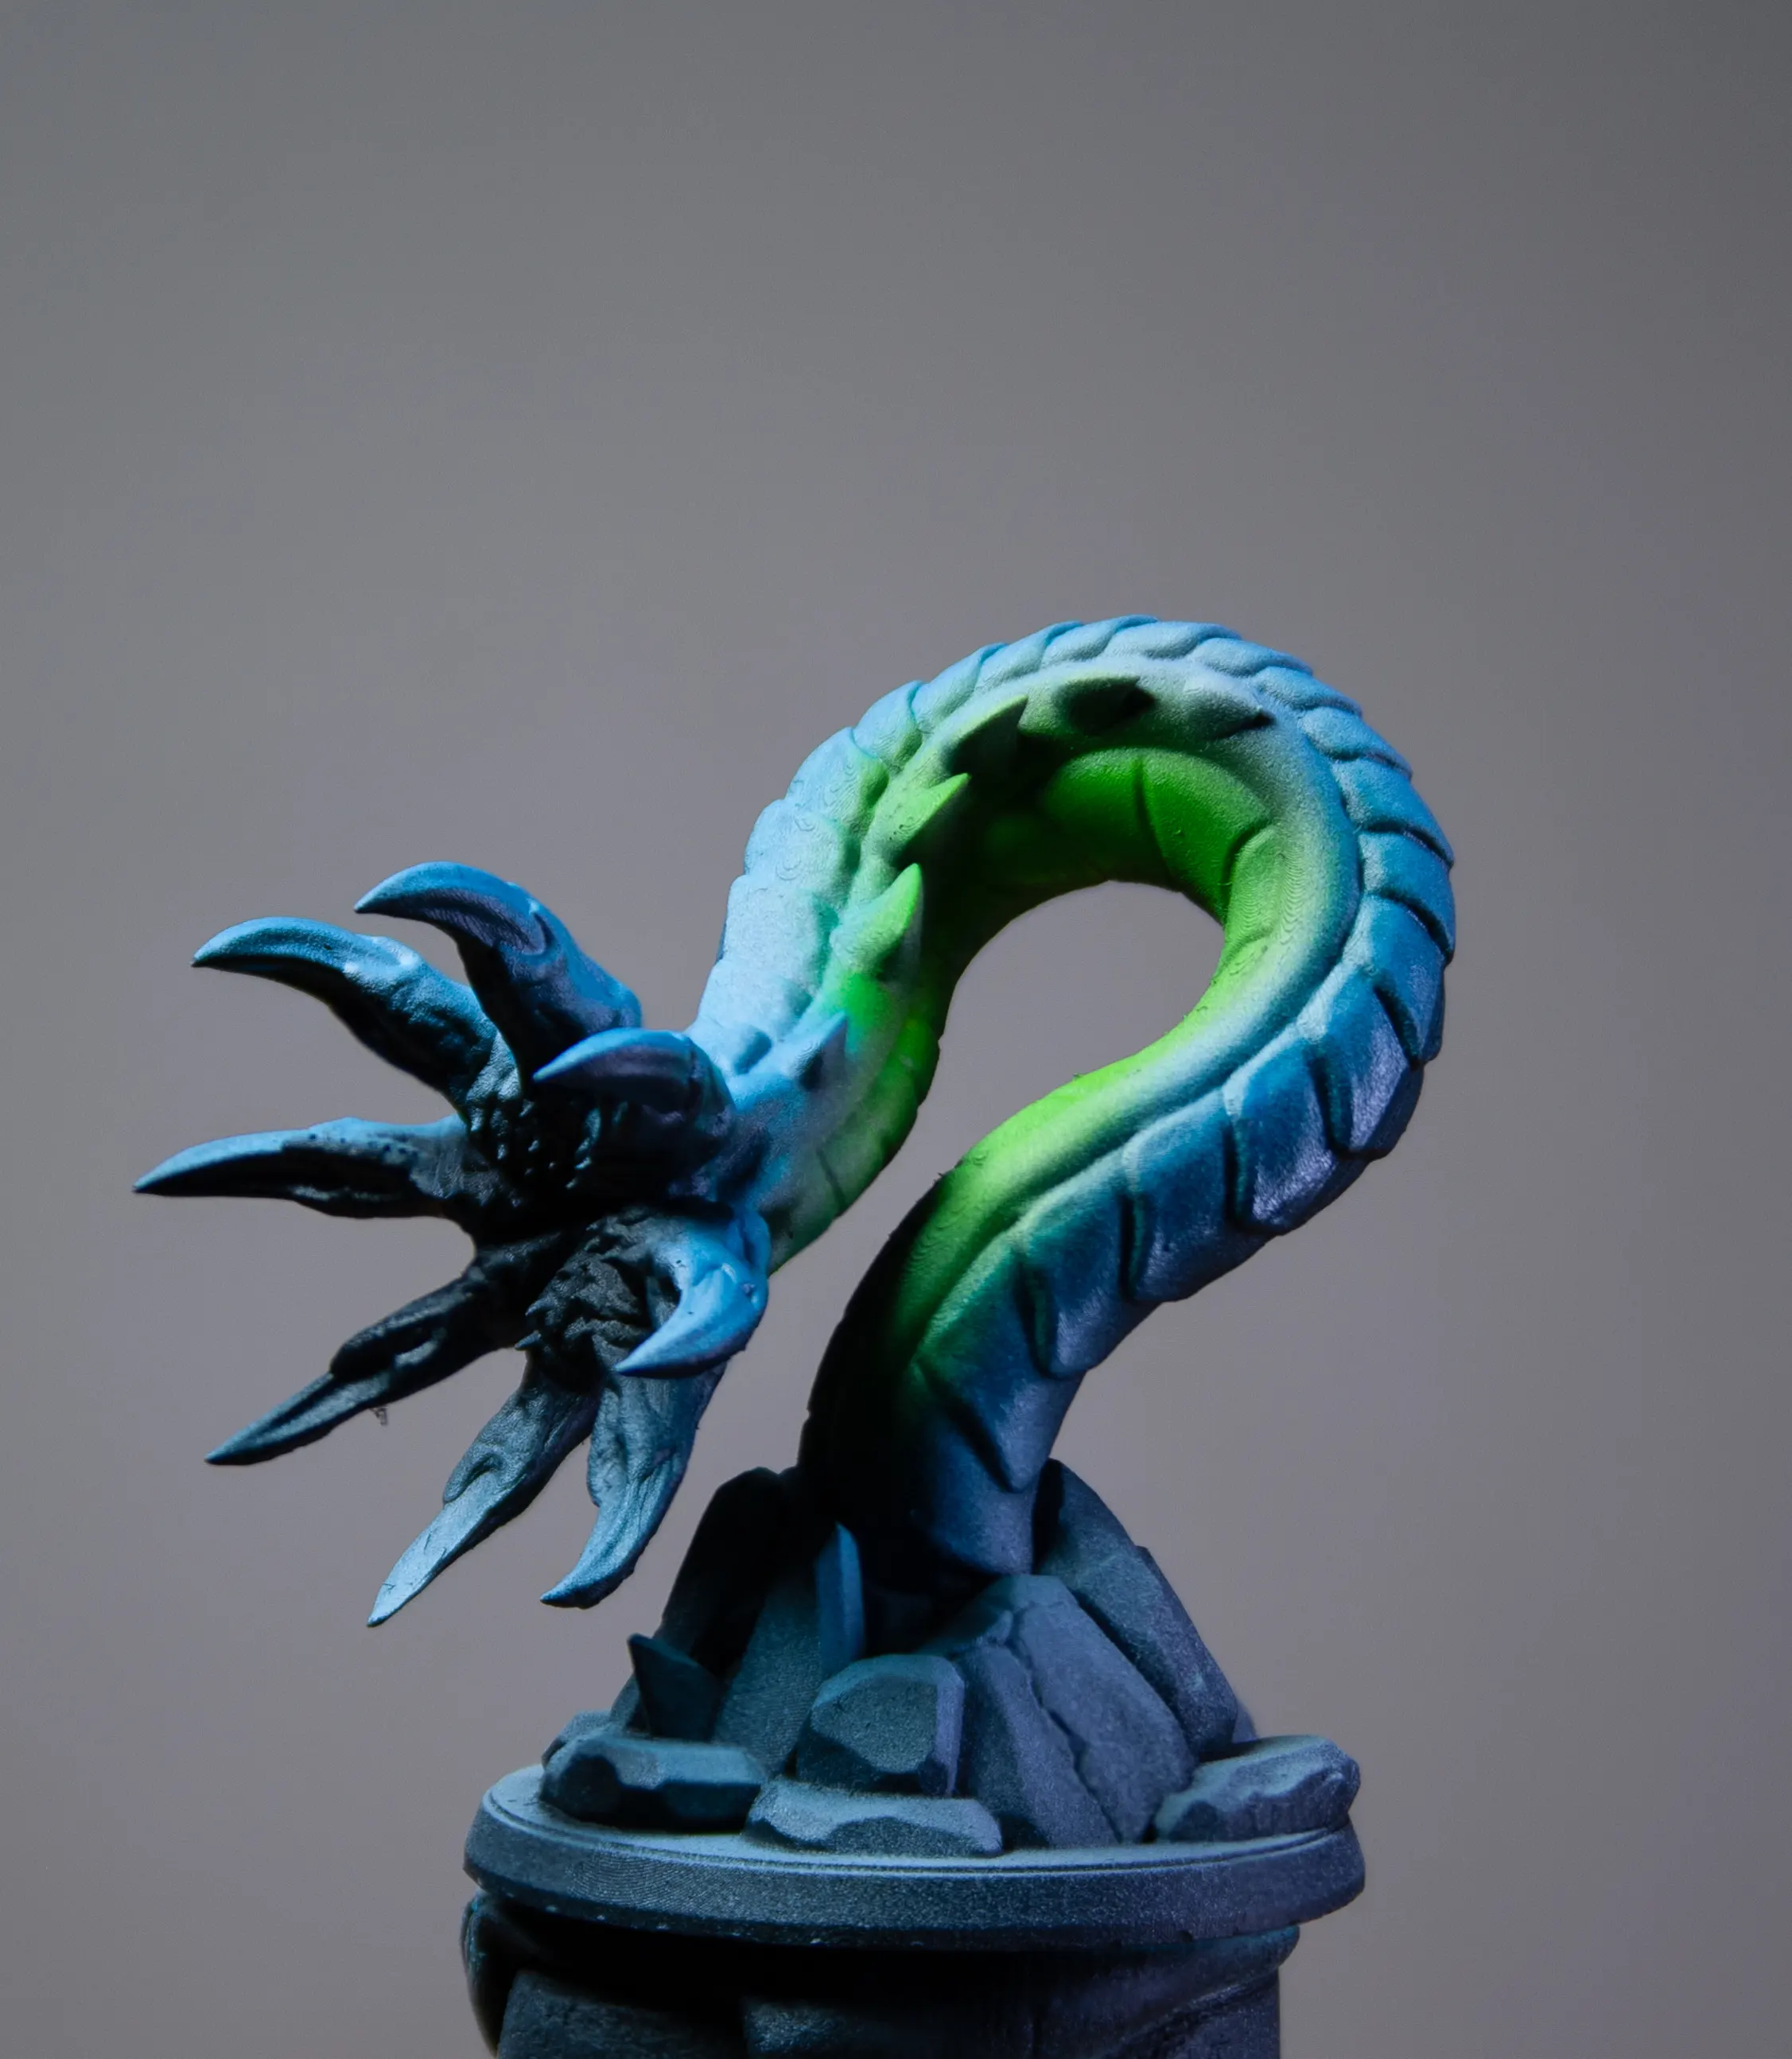
Priming and base coat are always fun to me. It’s satisfying every time seeing the plain, gray model get that little bit of life early on. It also feels like you’re really trucking along, you’re getting stuff done! In this case I had fun with the airbrush and some FW inks. The neon green was an…interesting decision but I did want to go all out and push my self with this model.
details
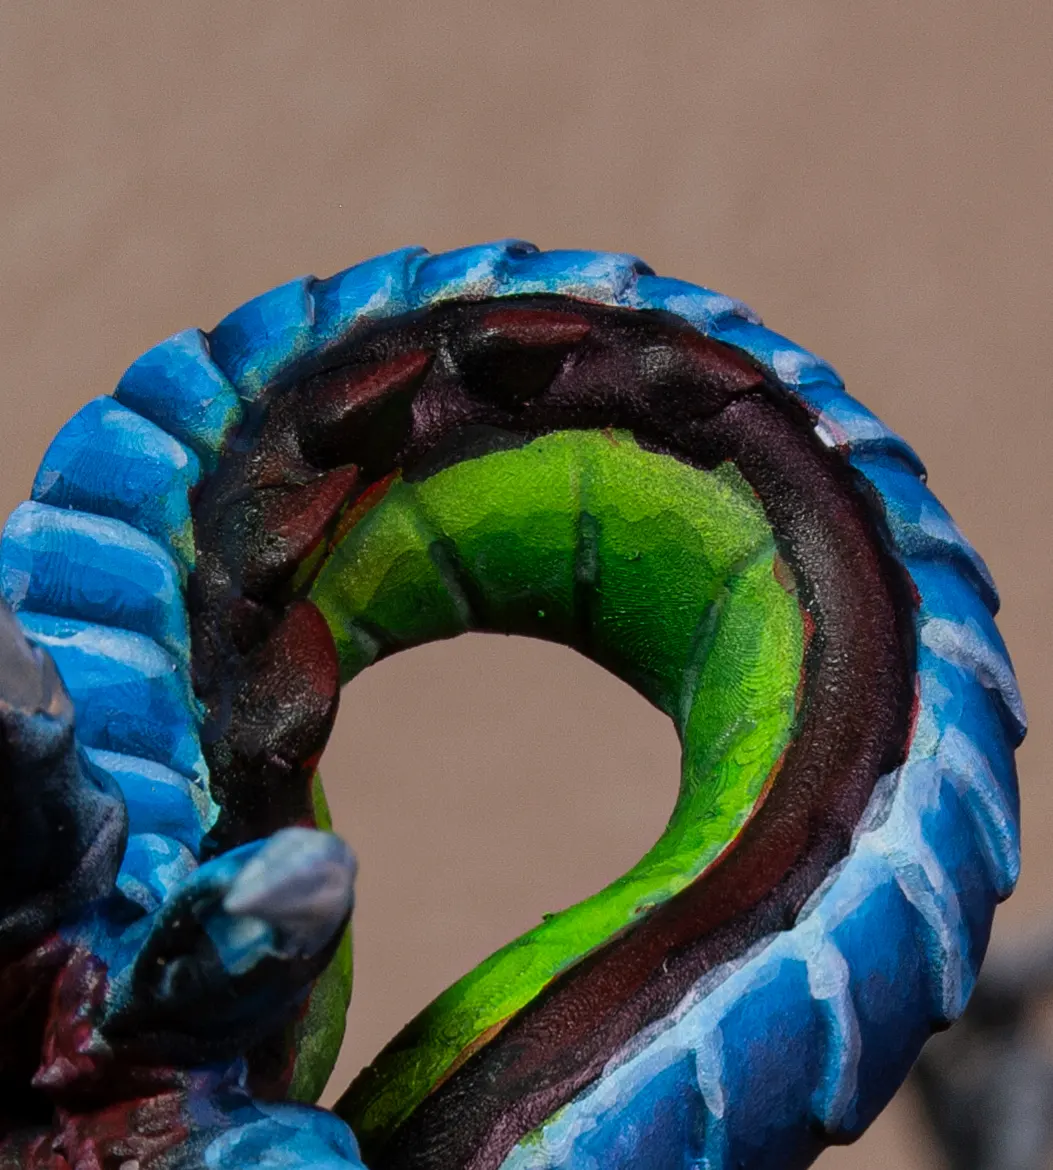
As usual, a quick paint turned into another practice session since I have no self control. I really wanted to nail down some smooth gradients on the carapace and tied my self into knots in the attempt. Eventually I came out of the fugue state I seem to enter when I dive into the details on a mini and realized I had a lot more monsters and soldiers to paint and I needed to get a move on.
In the end, I gave the entire thing a coat of blue wash and damn if it didn’t tie the whole thing together. They call it liquid talent for a reason I suppose. No reason to reinvent the wheel, after the wash I went back to pick out some highlights and bring the contrast back up. The wash didn’t wipe out my work, it really smoothed it out but it did save my butt. I was close to overworking it, if I didn’t already. Looks great now!
base
For many months now I’ve been rolling and cutting my own ceramic bases so it was a bit of a relief being able to just get to painting without a lot of gluing and priming. Originally I hoped to be able to make the rubble at the base of the worm look like ice blocks but I just don’t have the skills to have that much white and blue on the model with the kind of contrast it would need. Not yet anyway, I’m getting better every model.
Instead I decided to practice some basic rock coloring. I made sure to use brown and green to move away from a generic stone gray color. Wash picked out the cracks on some of the rubble and added a nice depth. Even the rubble was varied and interesting, which made it fun to paint. A really nice sculpt!
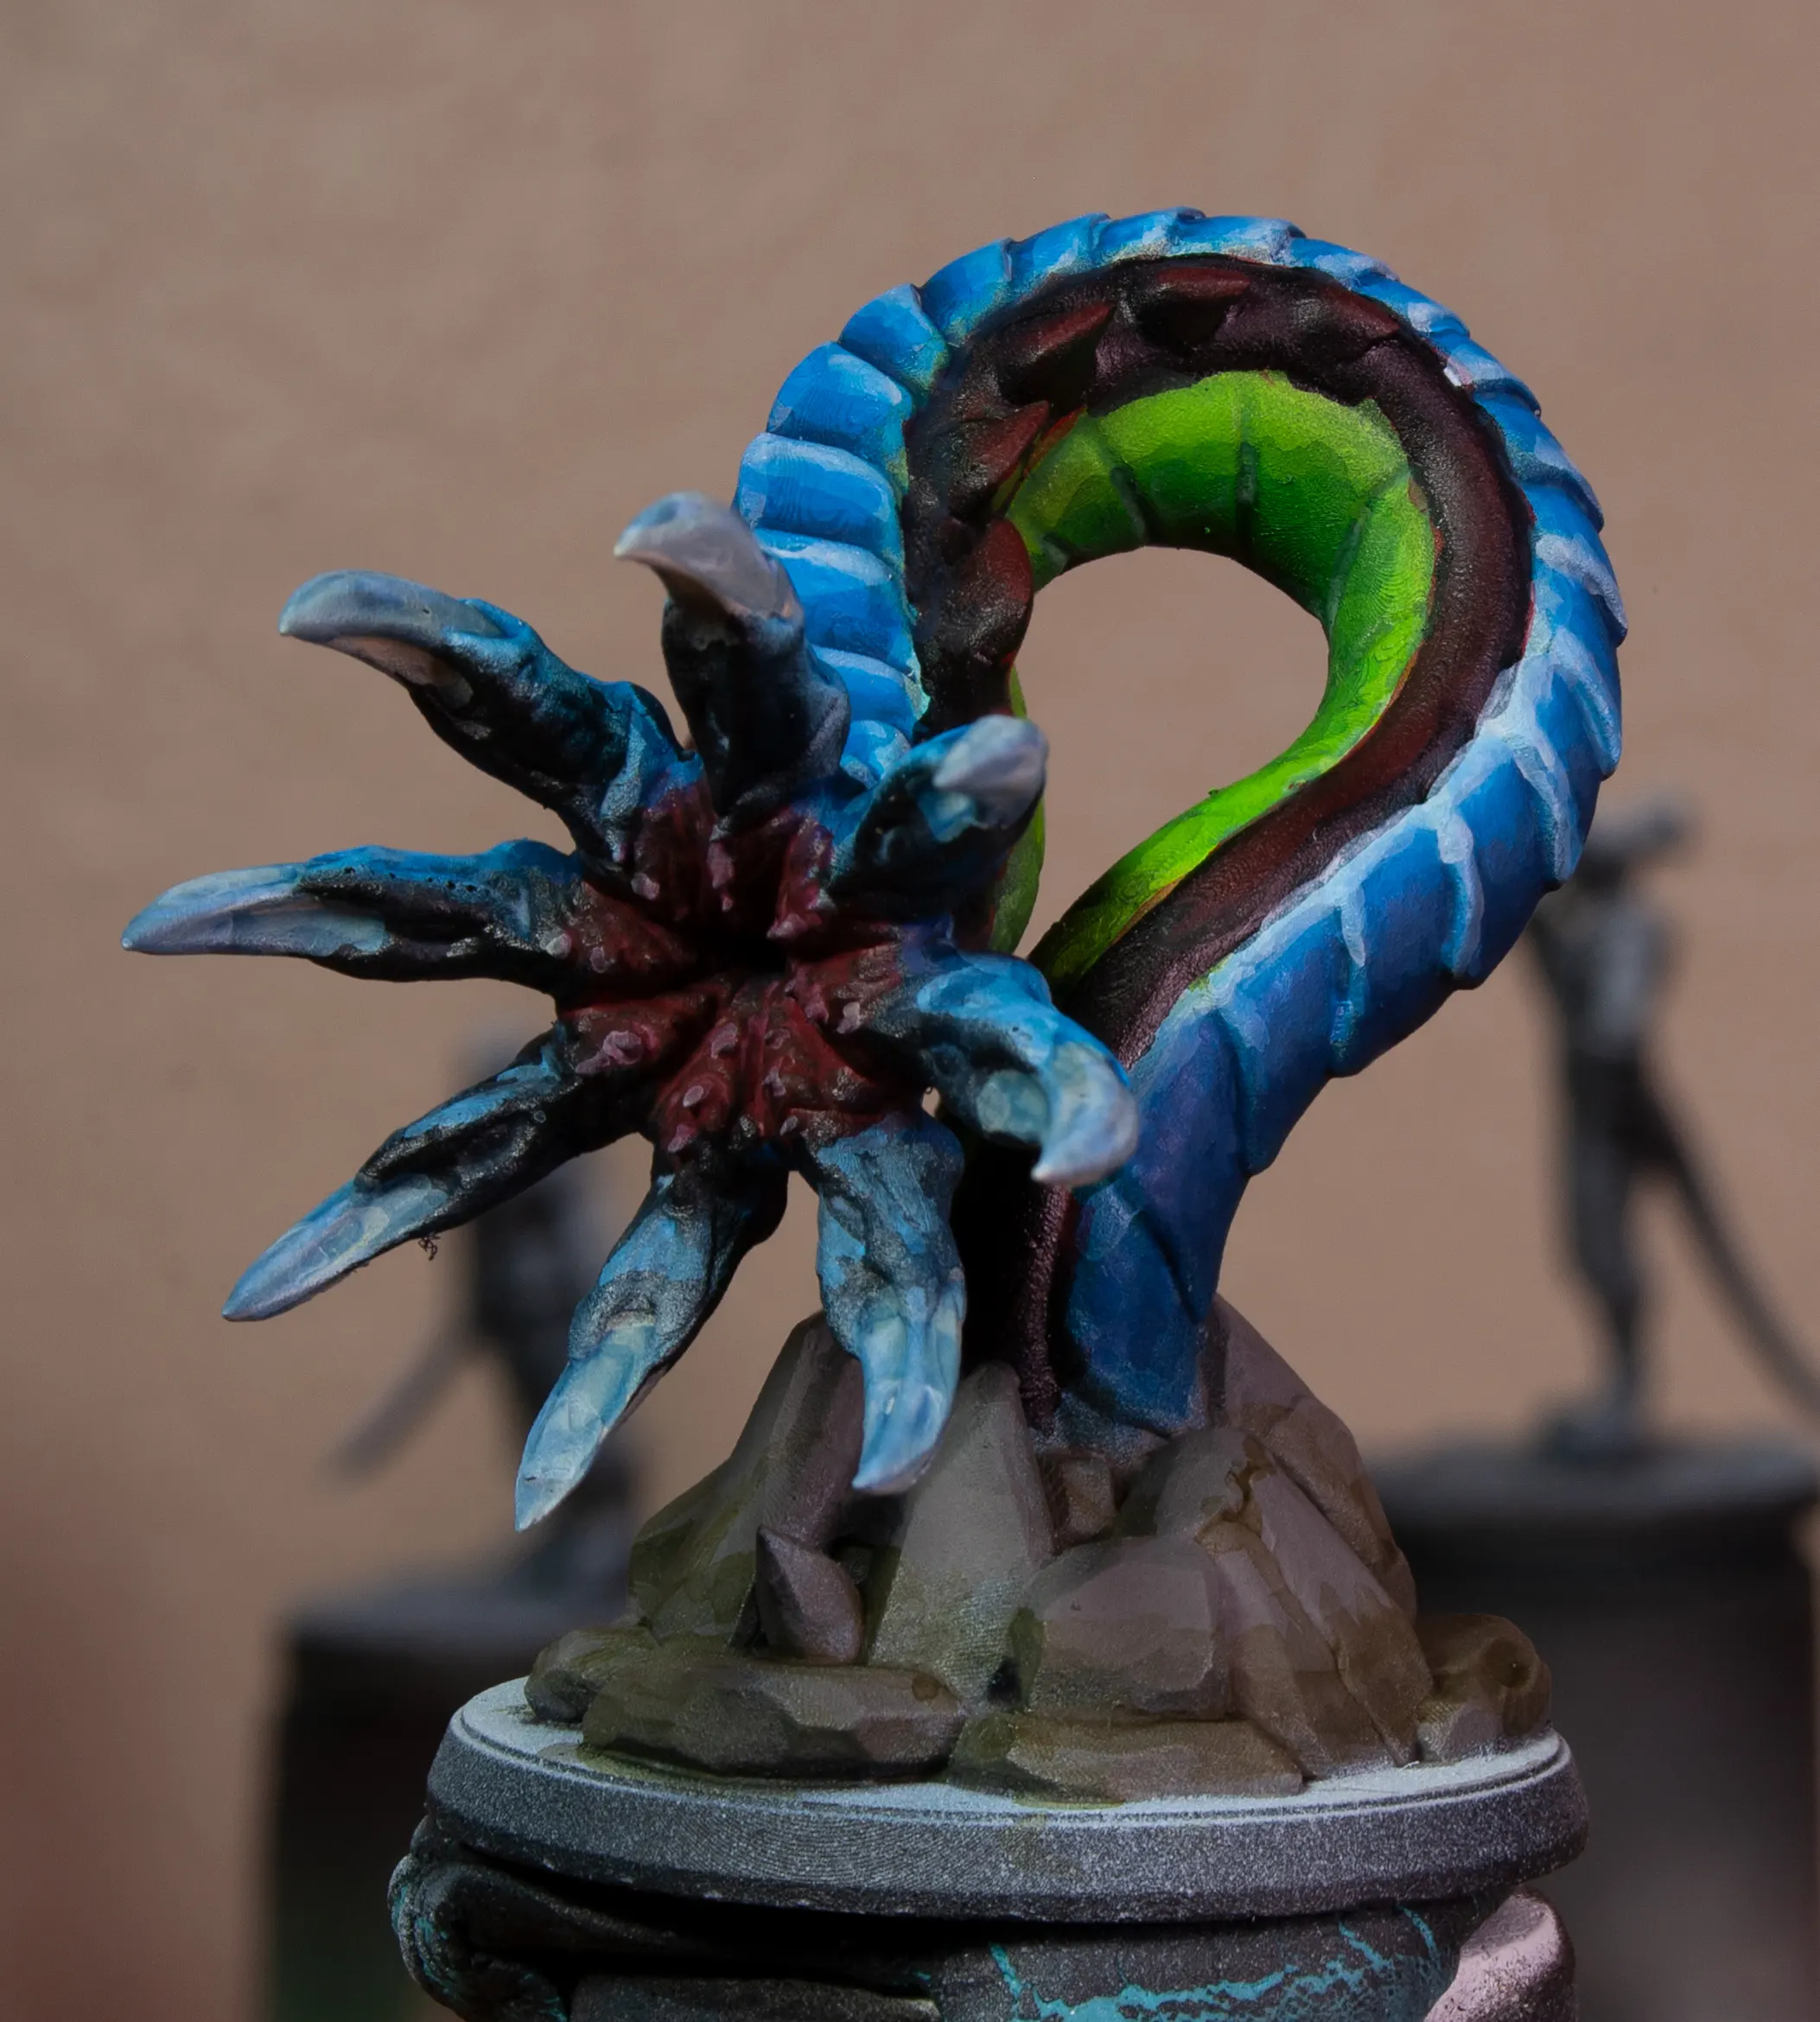
ready to rumble
And here we are. In absolute time, this took months. I put off even printing the model for far too long, and then dallied for even longer. Really, I was scared to ruin it. Which is sort of silly since I print my minis, but in the cold half of the year I wasn’t looking forward to spending any more time in the cold garage where I keep my printer. Still, it was a pretty lame excuse. Not to get too preachy or drift into a therapy session, but putting something off because I don’t think I’m good enough has plagued me for far too long. It’s easy to say “don’t be afraid to fail” but another thing to take a model you’re really excited to paint and risk ruining it or forever wishing you’d done a better job.
I’m glad I dove it and got to it. It turned out great, I’m really very happy with it. I do want to keep getting better, I was frustrated I wasn’t able to blend colors on the scaly parts, but the important part is I gave it a really good shot and it does look great. I do feel like I learned something too even if I couldn’t exactly teach a class on painting an icy look.
